
Backup cameras have become a popular feature in modern vehicles, and for good reason. They make reversing and parking much easier and safer, and can even help you avoid costly accidents.
As of 2018, all new cars must come with a backup camera, but what if you’re rocking a 1991 Honda Civic? Don’t worry, you can still enjoy the benefits of this helpful feature by installing one yourself.
In this blog post, we’ll walk you through the process of installing a backup camera in your vehicle. We’ll cover everything from gathering the necessary tools and materials, to locating the best spot to mount the camera, to testing and troubleshooting. By the end of this guide, you’ll be able to back up and park with confidence, knowing that you have an extra set of eyes helping you out.
Preparing Your Car for the Install
Before you begin the installation process, there are a few things you’ll need to do to prepare.
First, gather the necessary tools and materials.
Starting with the camera itself, you’ll want to make sure the camera you’ve chosen is compatible with the make and model of your car.
In addition to the backup camera and installation kit, you’ll need:
- Drill,
- Wire cutter/stripper,
- Electrical tape,
- Phillips head screwdriver, and
- Flathead screwdriver.
It can also help to have an extra set of hands!
Finally, locate the best spot to mount the camera. The ideal location will depend on the camera and your vehicle, but generally you’ll want to mount the camera near the center of the rear of the vehicle. This will give you the widest field of view when reversing.
Backup Camera Installation
Here are some basic step-by-step instructions to give you an idea of what you’re getting into. Keep in mind, however, that instructions may vary between individual models.
Make sure your vehicle is turned off, disconnect the battery terminals, and let’s get started!
1. Remove Tail Light and/or License Plate Assembly
Depending on the location you chose to mount the camera, you may need to remove the tail light or license plate assembly in order to access the wiring. Be careful when doing this, as the assembly may be fragile.
2. Run the Wiring From the Camera to the Vehicle’s Head Unit
Using the wiring and installation kit that came with the camera, run the wiring from the camera to the head unit. Make sure that the wiring is hidden and protected, and that it won’t be in the way when you’re driving.
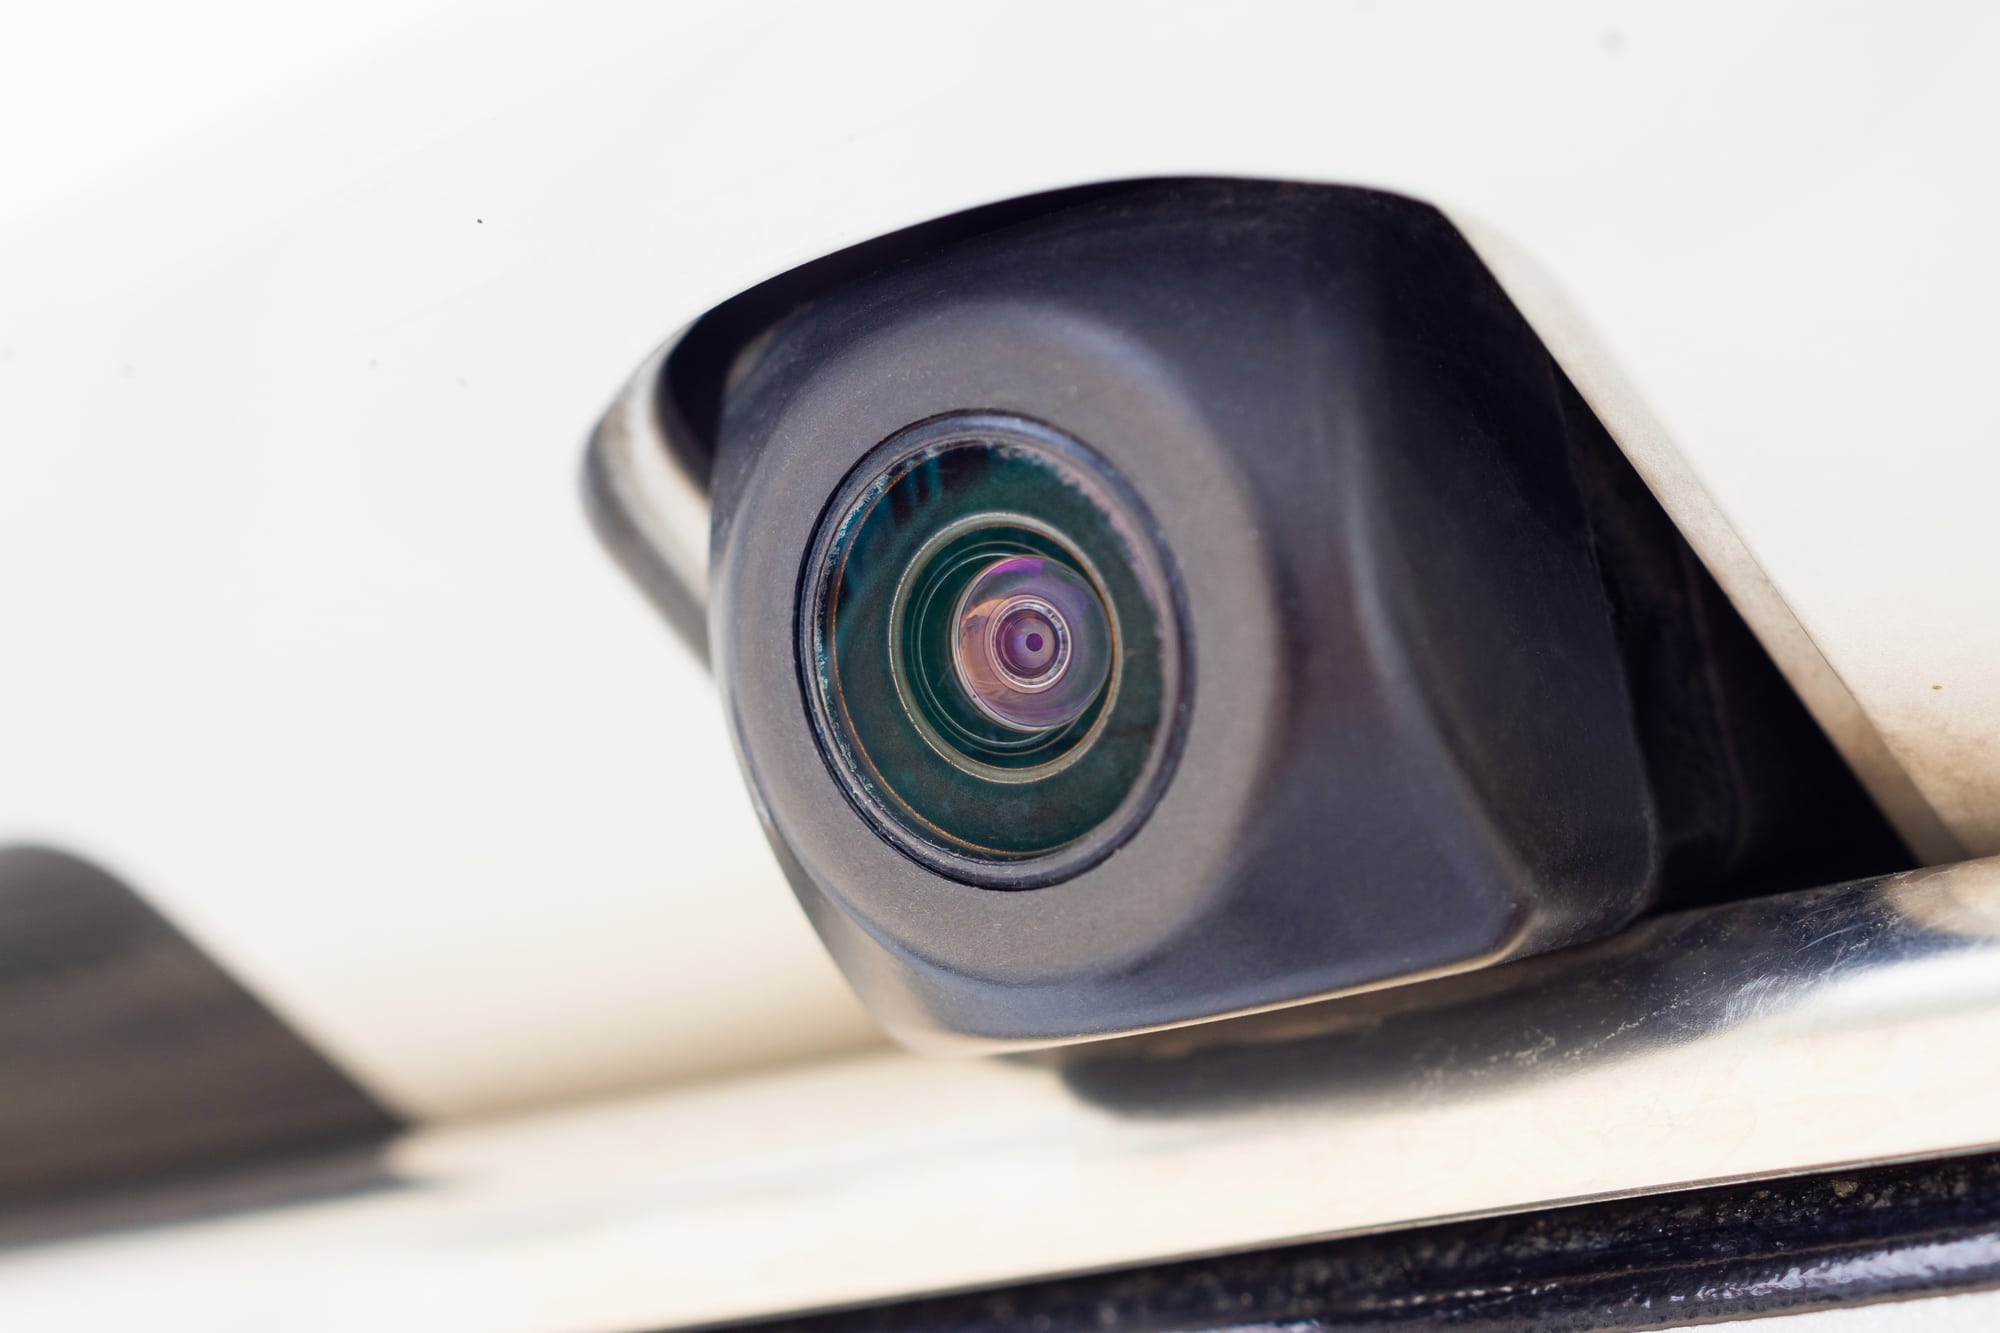
3. Mount the Camera
Once the wiring is in place, mount the camera using the screws or mounting bracket that came with the kit. Make sure that the camera is level and pointing in the right direction.
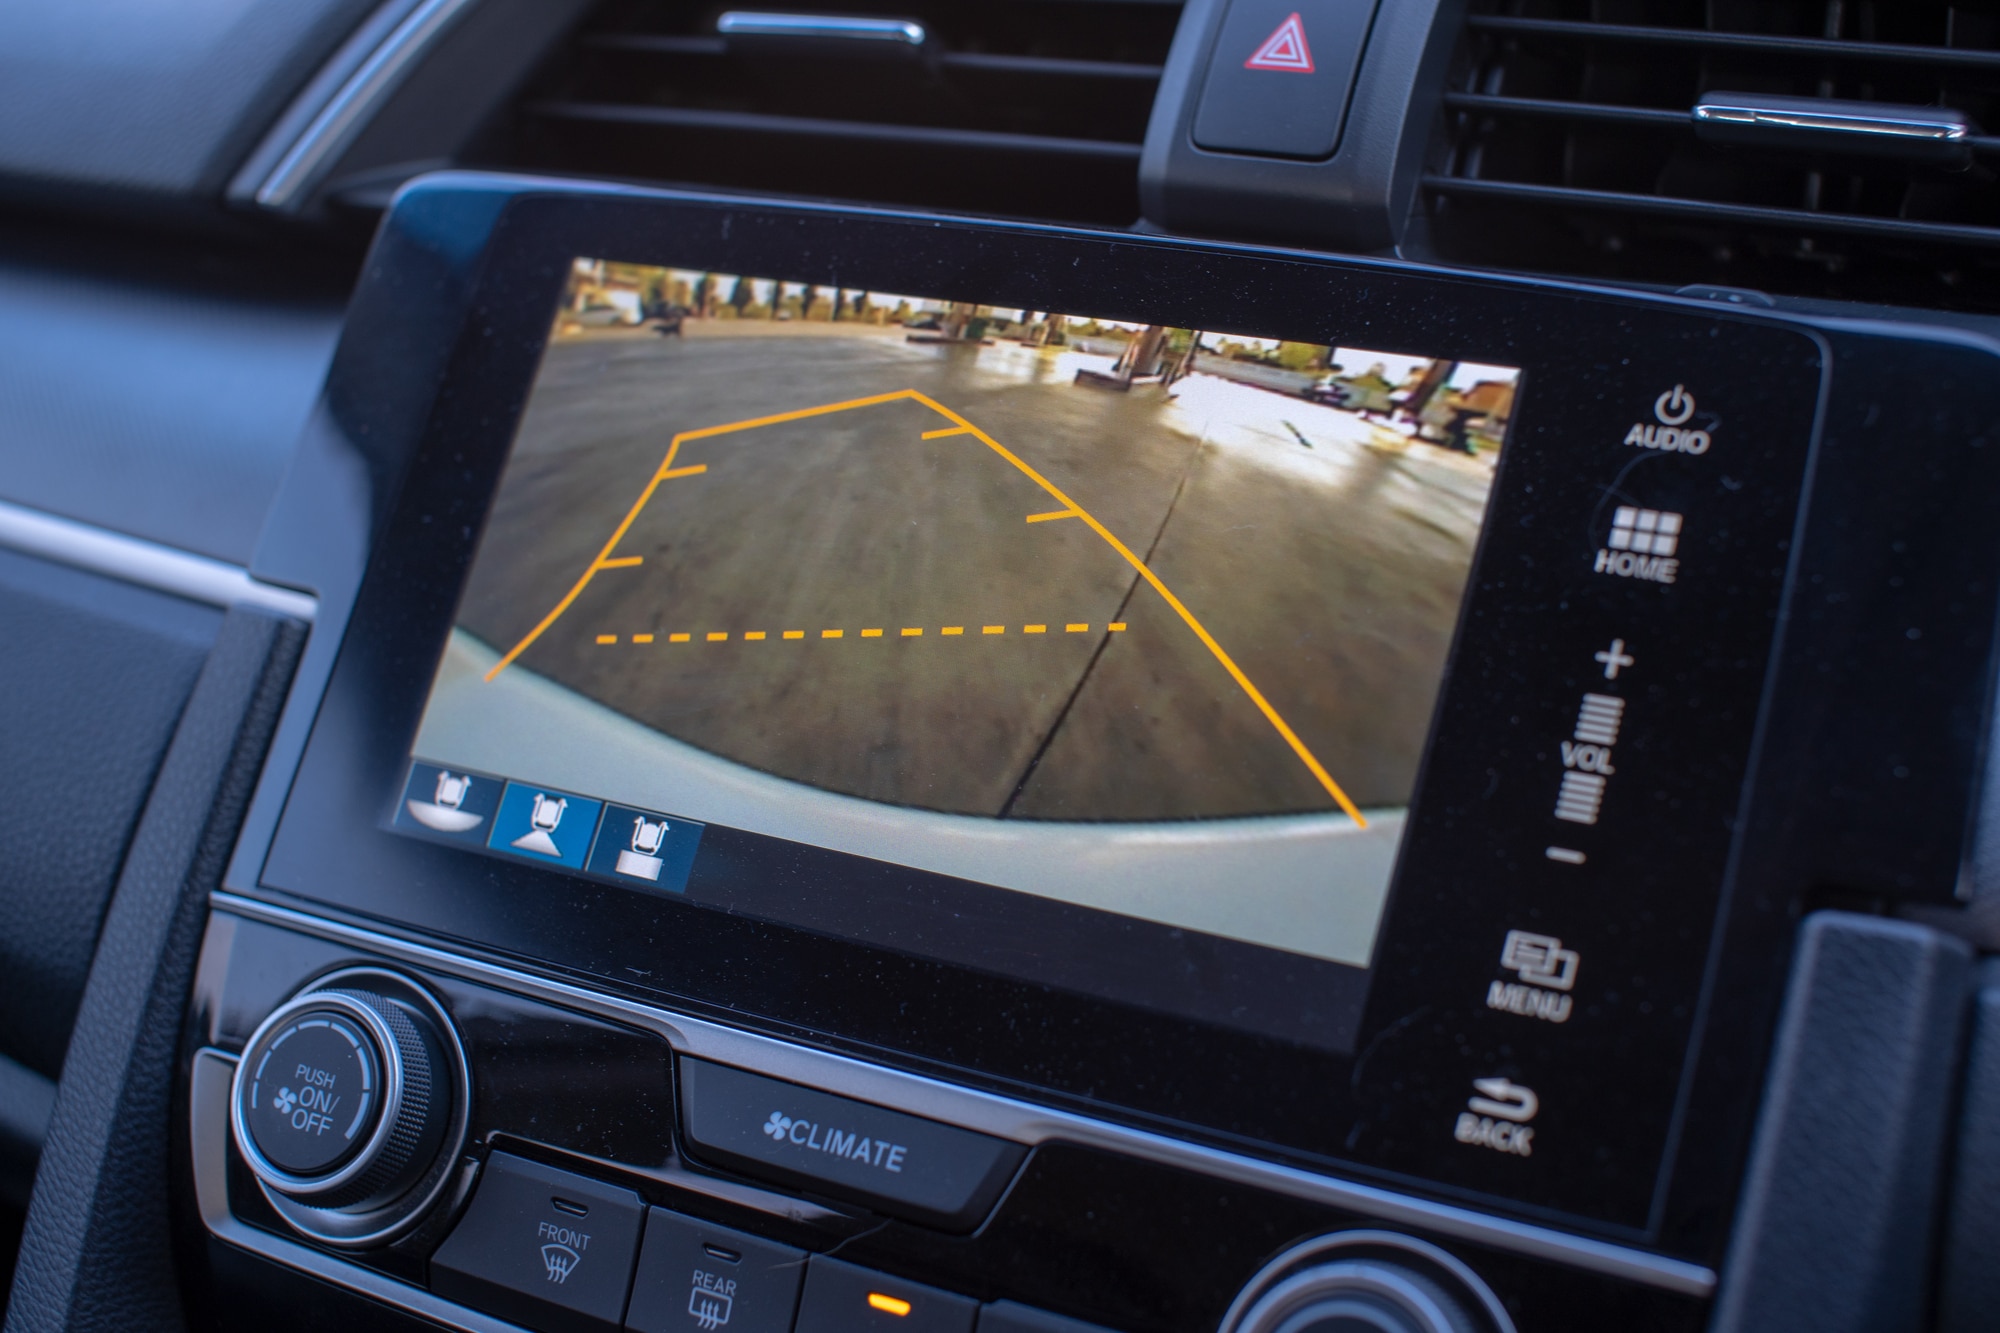
4. Test the Camera and Make Final Adjustments
Before putting everything back together, test the camera to make sure it’s working properly. Put the vehicle in reverse and make sure that the camera’s image appears on the head unit. Make any necessary adjustments to the camera’s angle or focus.
5. Congratulations!
Now, you should have a working backup camera on your car. But do keep in mind that the installation process may vary depending on your specific car and camera model so you may need to adjust the process accordingly. Always check the manual or consult a professional if you’re unsure.
Troubleshooting Common Backup Camera Installation Issues
Despite following the installation process correctly, you may encounter some issues with your new backup camera. Here are some common problems and their solutions:
Camera Not Displaying Properly
If the camera’s image is not appearing on the head unit or is distorted, make sure that the wiring is properly connected and that the camera is securely mounted. Check that the head unit is set to the correct input for the camera.
Camera Not Turning On When Vehicle Is In Reverse
This may be caused by a problem with the wiring. Check the wiring that connects the camera to the reverse lights and make sure that the reverse light is working fine. Additionally, you may need to adjust the settings on the head unit to automatically switch to the camera input when the vehicle is put in reverse.
Poor Image Quality
If the camera’s image is too dark or blurry, make sure that the lens is clean and that the camera is aimed correctly. If the problem persists, the camera may be defective and need to be replaced.
We’ve Got Your Back
Overall, a backup camera is a great investment for any car. It provides peace of mind and helps you avoid accidents, making it a great addition to your car, truck, van, SUV, or recreational vehicle.
Installing a backup camera in your vehicle can greatly enhance your driving experience by making reversing and parking safer and easier. But installing one is often easier said than done.
At XD Audio, we specialize in car stereo equipment, but we are capable of so much more! If you’re interested in a backup camera or any other aftermarket equipment, we can give you the products and advice you need.
Give us a call or stop by to see how we can help.